
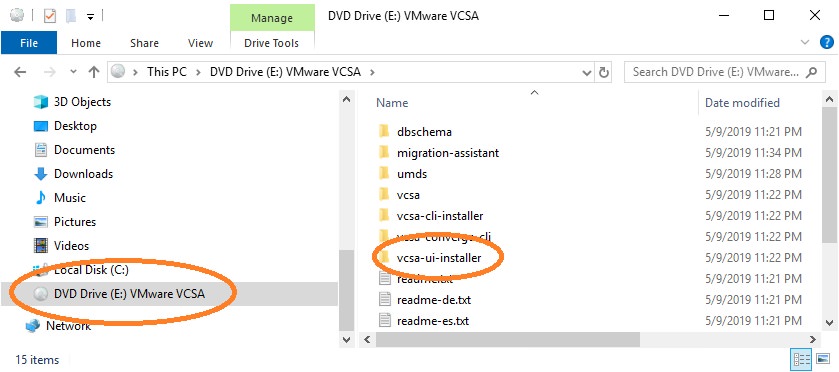
Step by Step: Upgrade vCenter VCSA 6.0 (or 6.5) to 6.7
These screenshots show the entire process to upgrade vCenter from 6.0 to 6.7 using a Windows 10 desktop as my administrative workstation. The same steps work for vCenter 6.5 to 6.7.
Is your existing vCenter server running on Windows? This article is primarily about upgrading vCenter appliances (linux-based). If you have a Windows vCenter server, check the comments for instructions from Greg Curry. Thanks Greg!
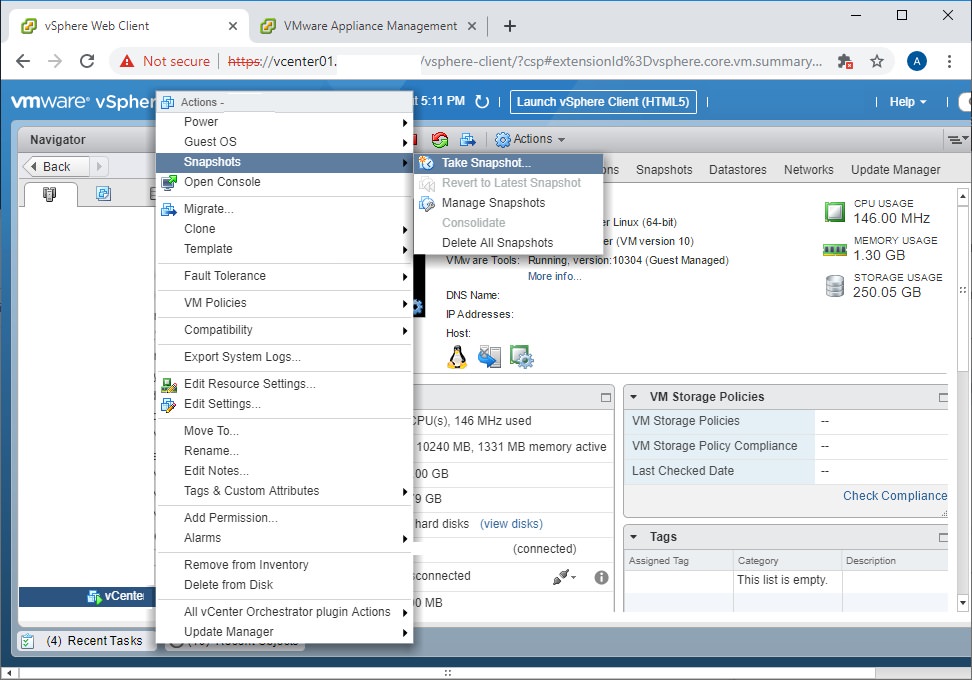
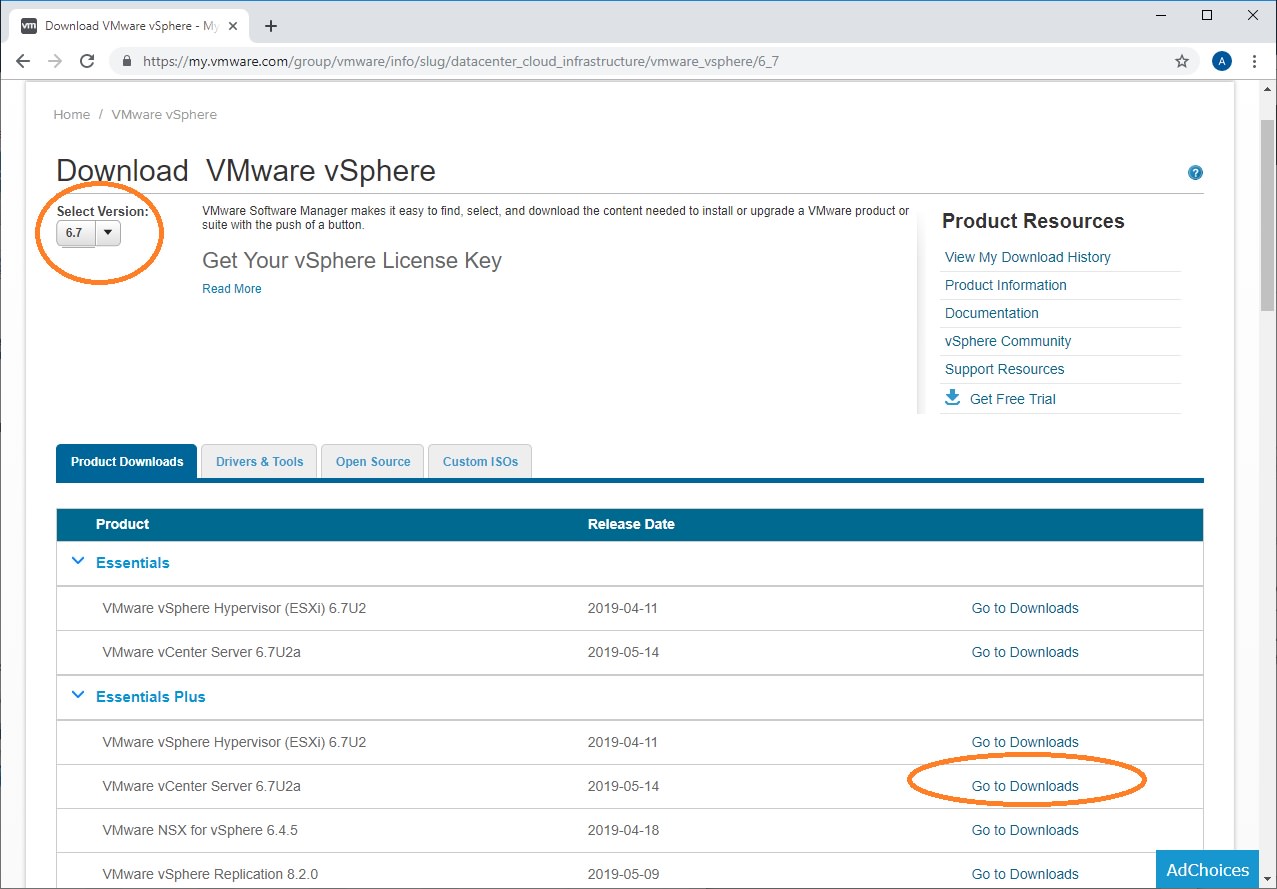
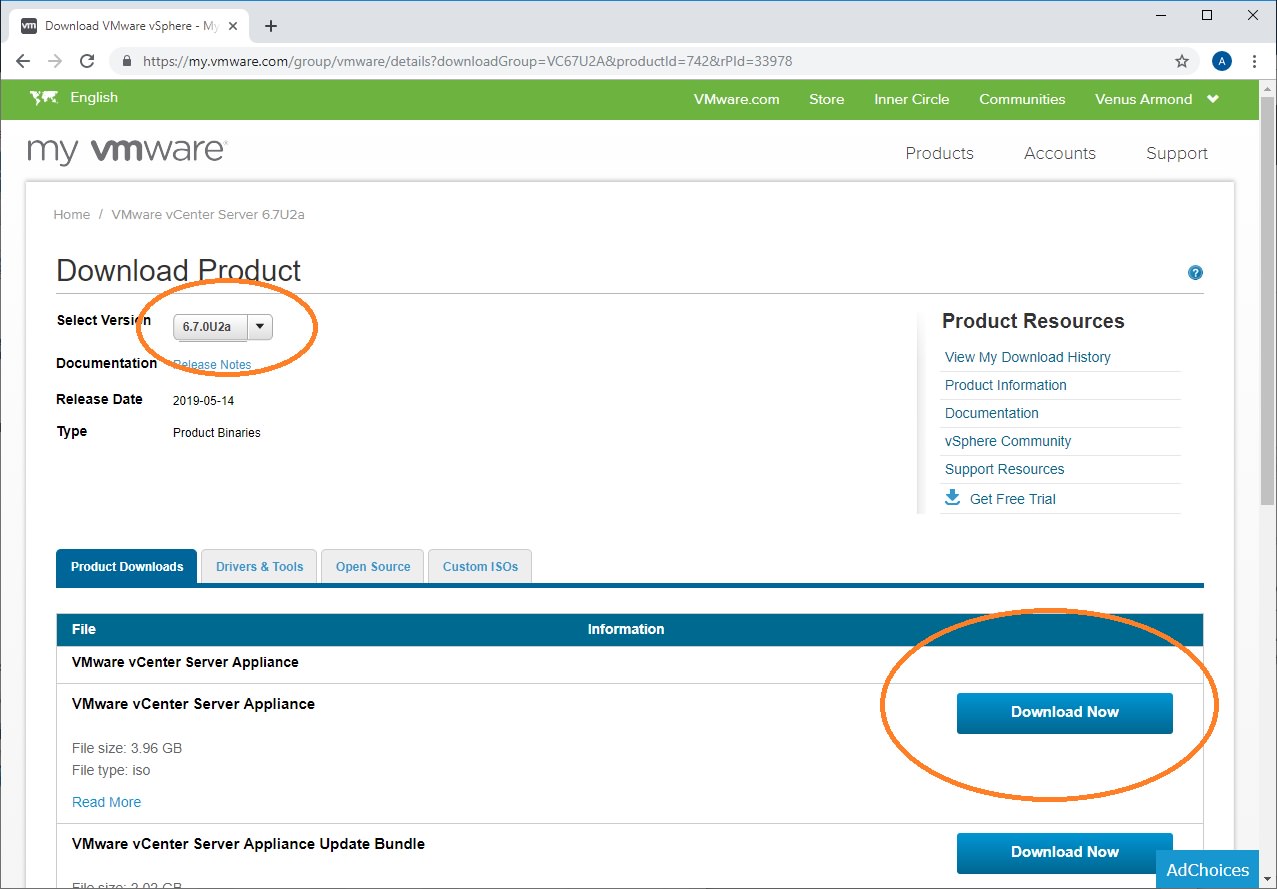
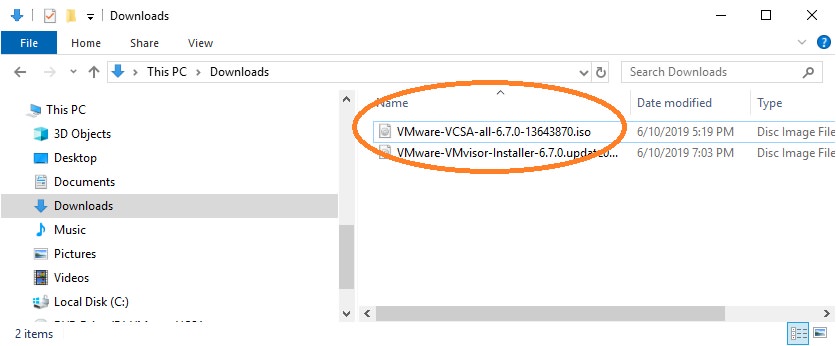
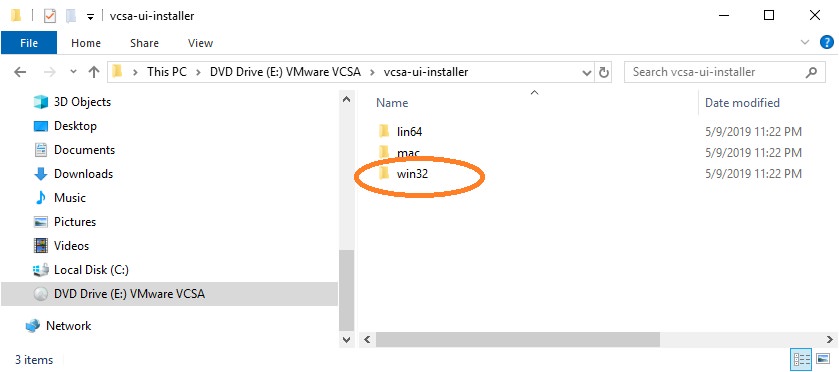
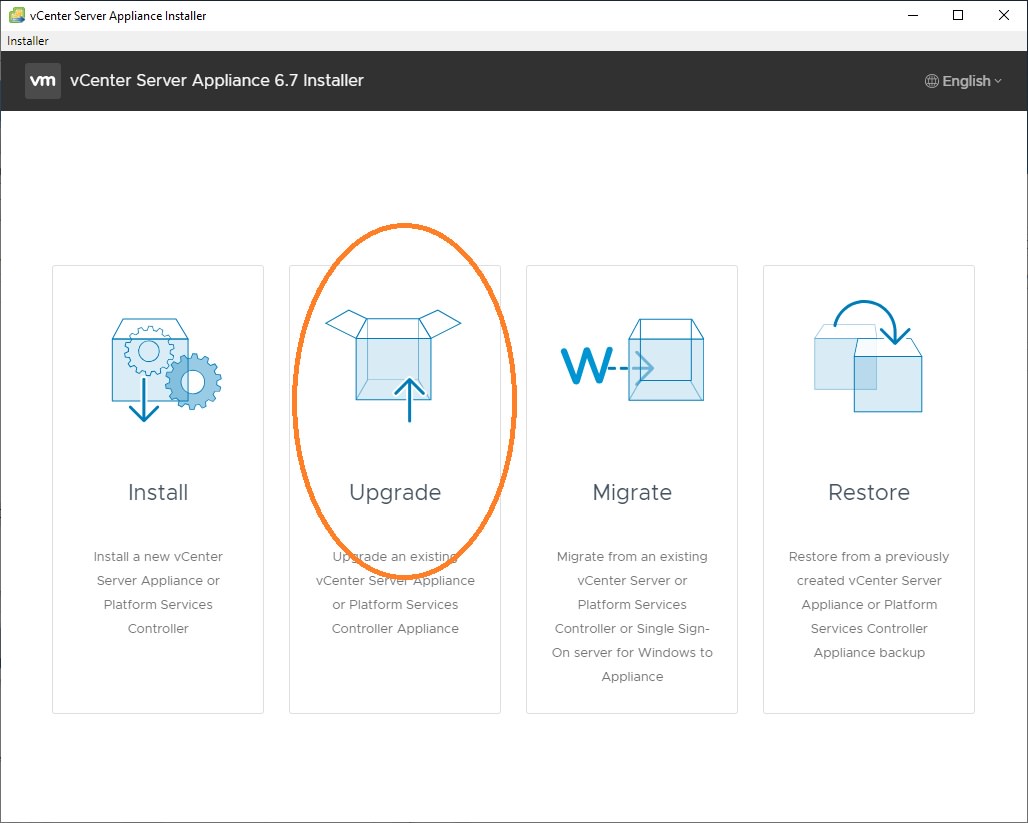
Preparing for the vCenter appliance upgrade

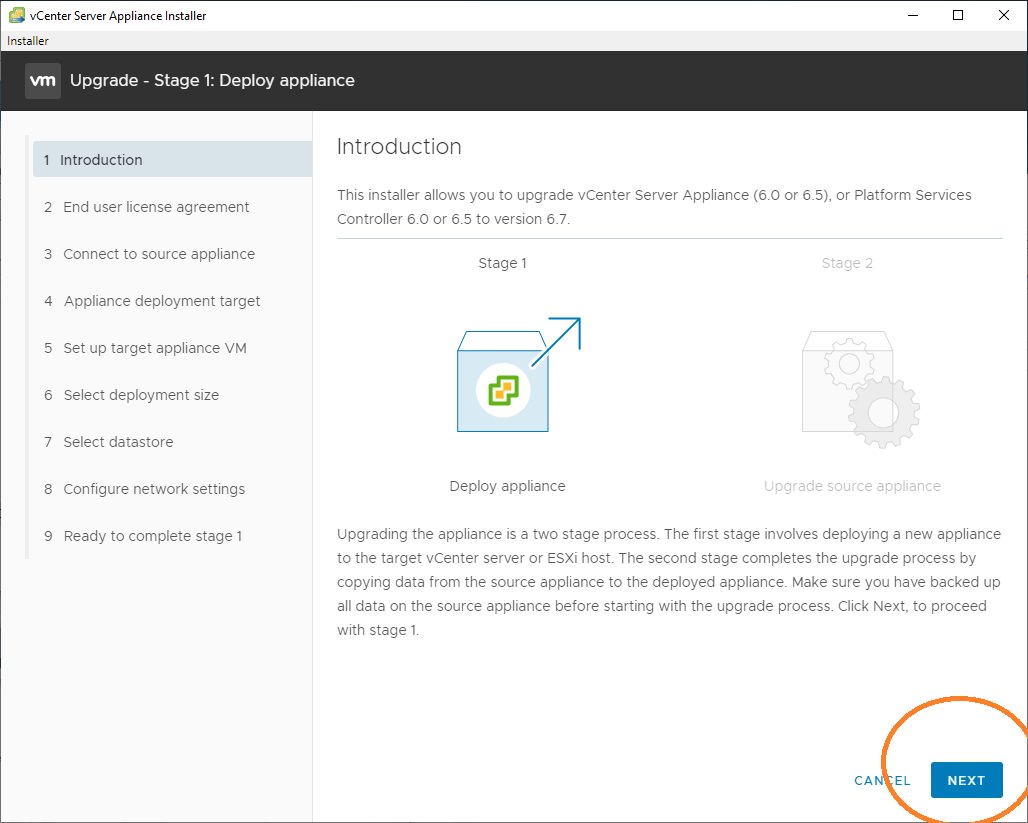
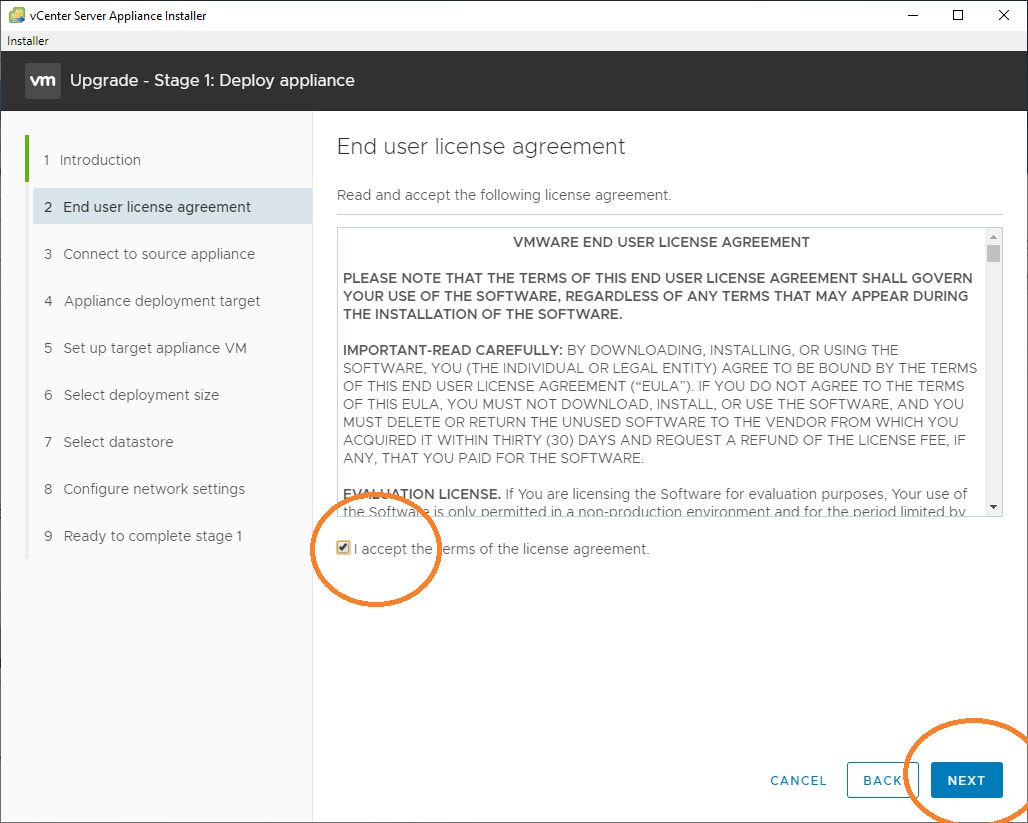
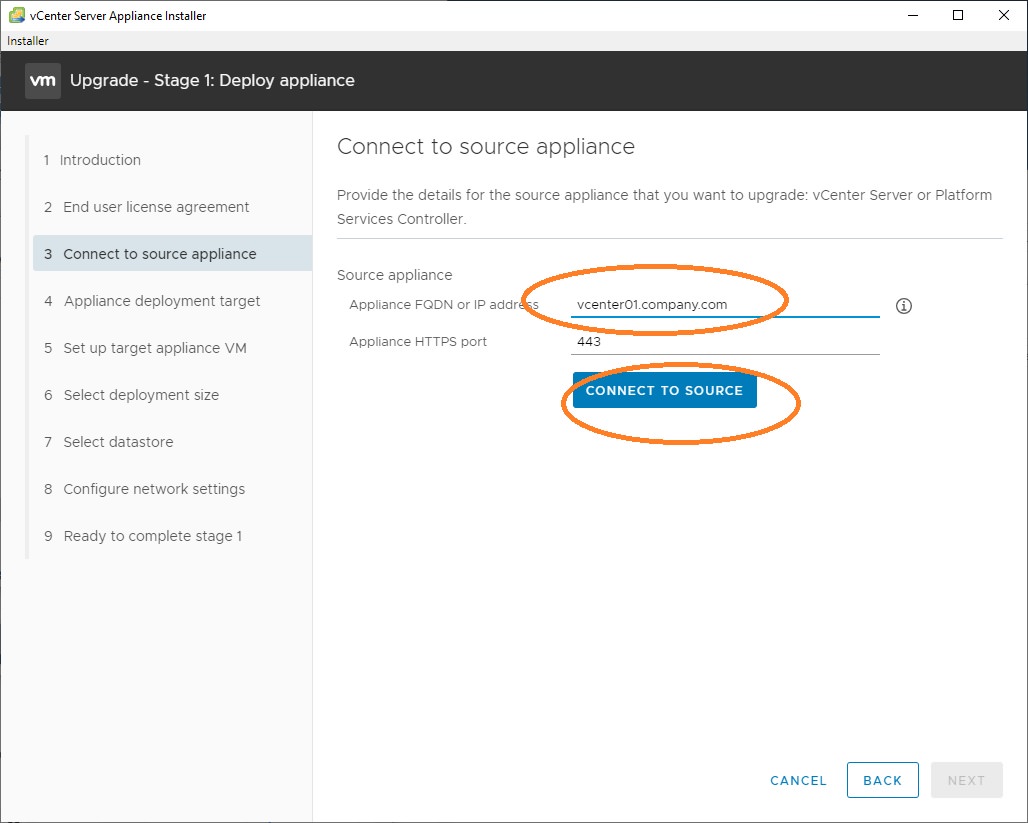
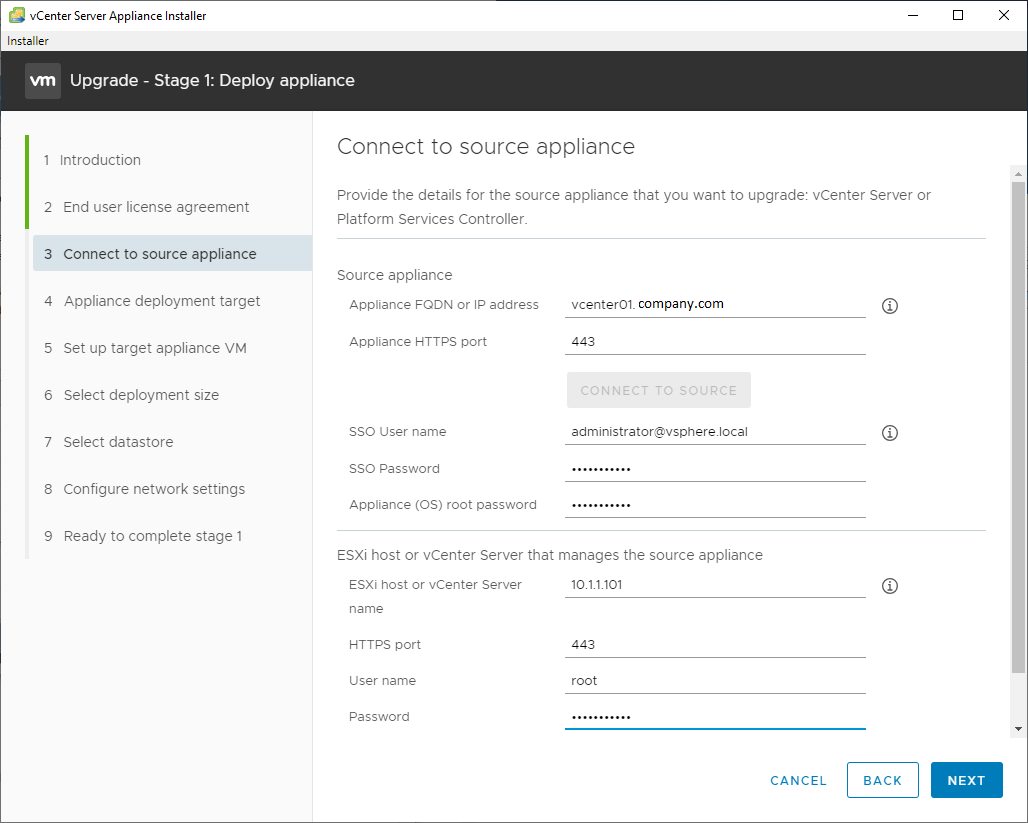
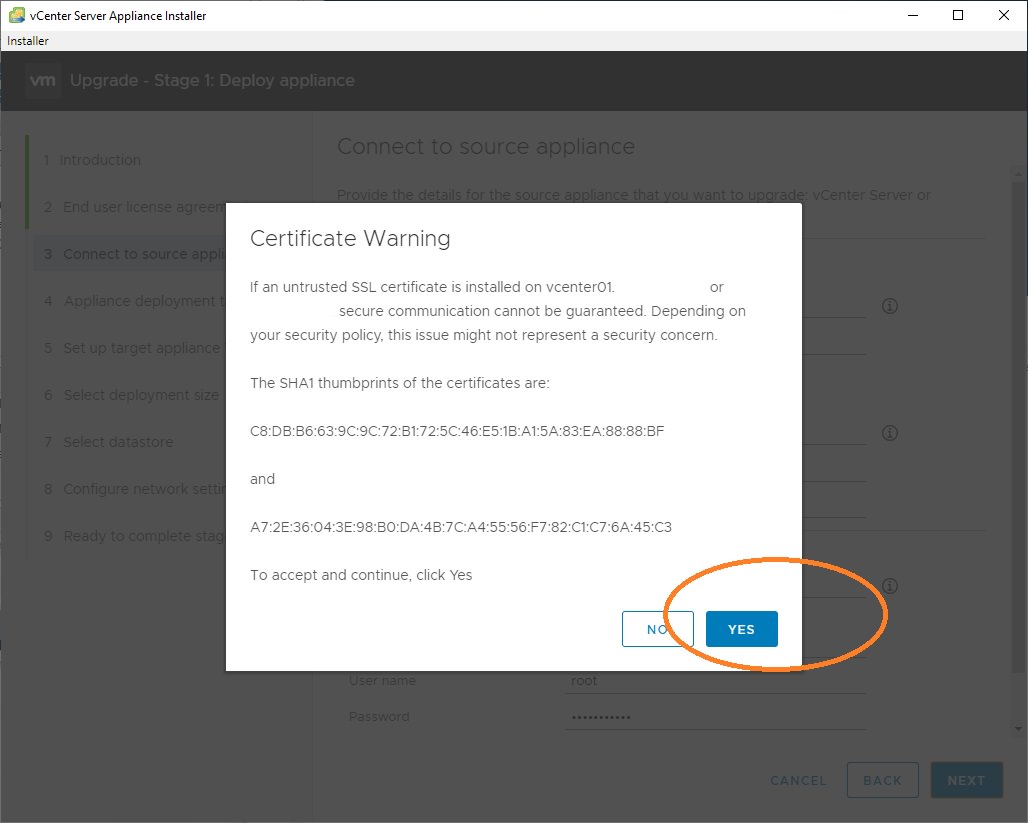
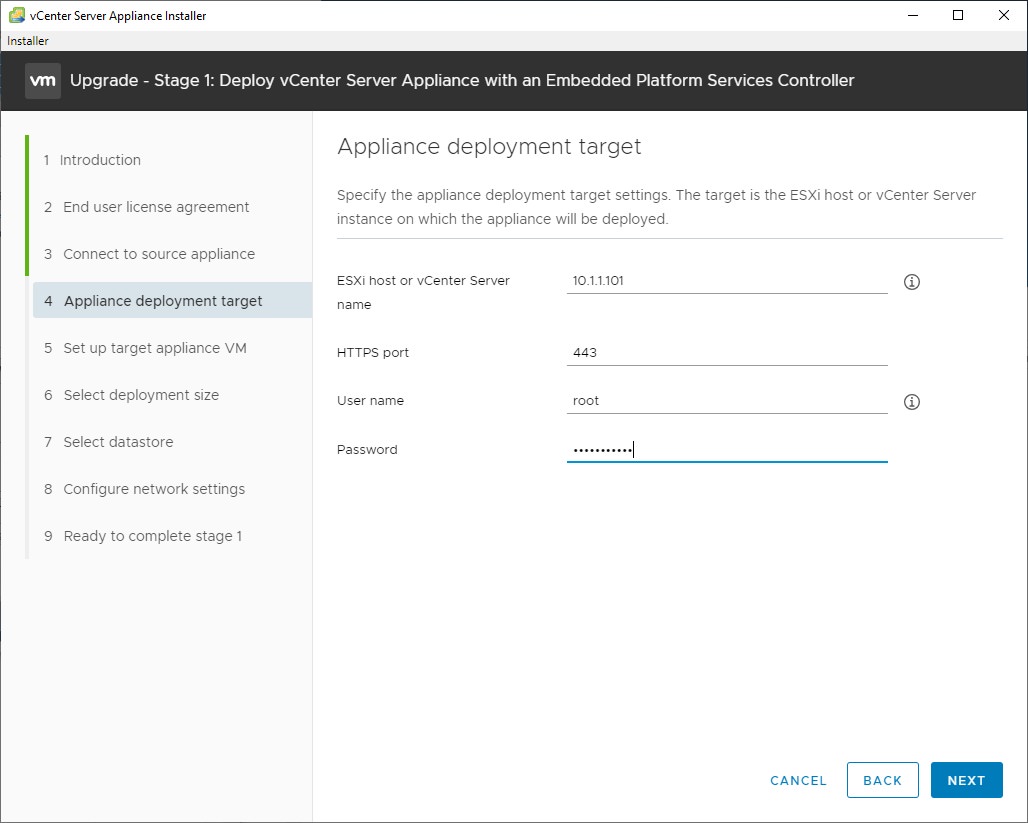
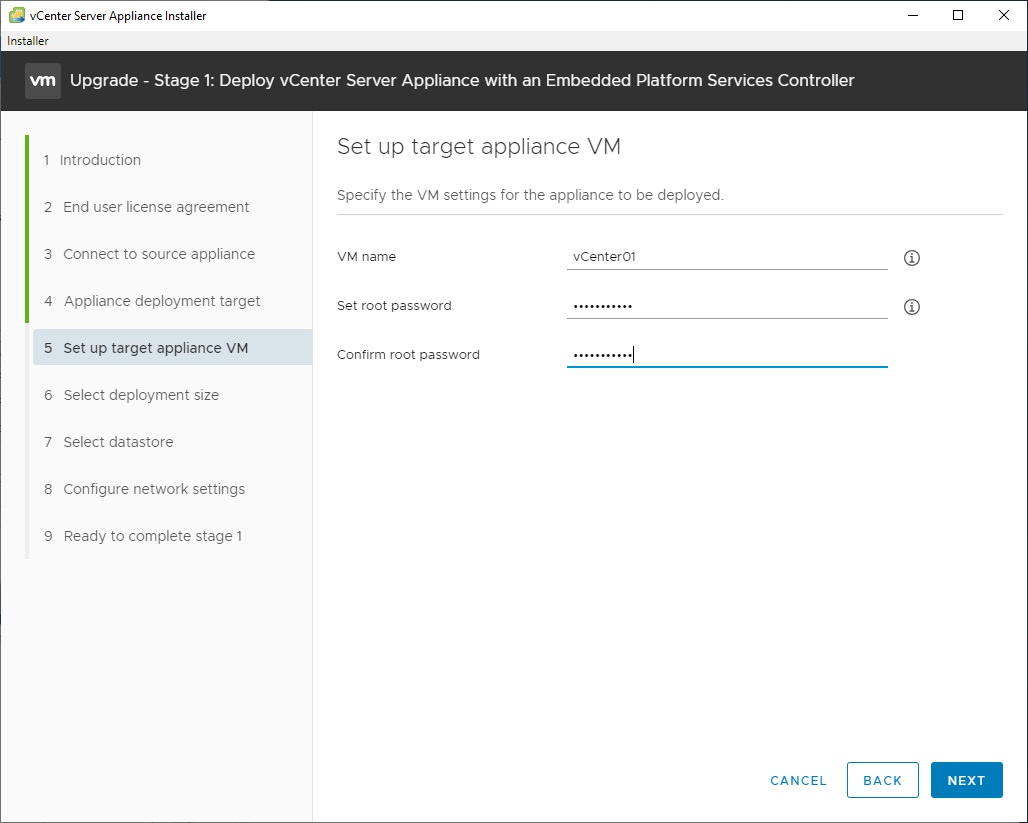
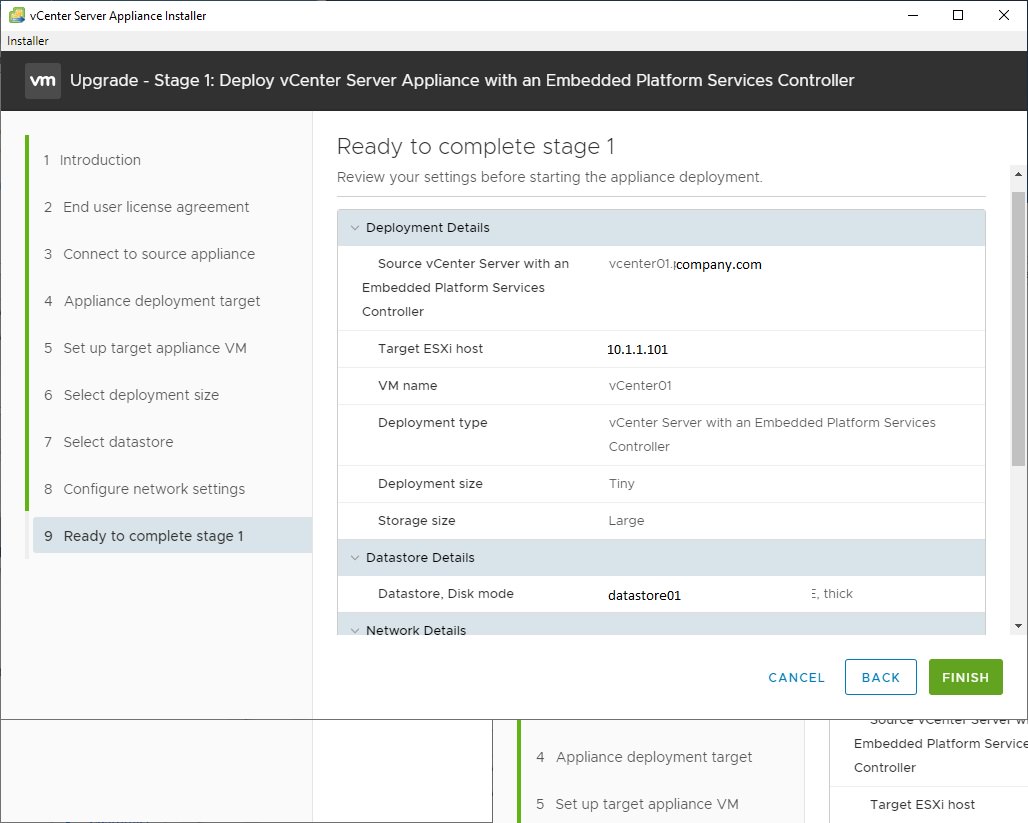
Appliance Upgrade Stage 1
——————
Additional info from Todd who provided this quote in the comments (Thanks Todd!)
I ran into one minor issue during the “Upgrade Stage 1: Deploy Appliance” phase. Operation would halt with “Failed to authenticate with the guest operating system using the supplied credentials.” I know they’re good as I can login to VCSA, VAMI, MOB, ESXi using them.
I changed all of the passwords to numbers and letters only with a single known good special character tacked on at the end. Et Voila! Problem solved. The rest of the upgrade proceeds without errors.
Passwords like these will not work with this utility:
Tv5$8FG#m*Djn
7xjg8sP%C#usXH8H
X8xk$vR^q9ccw@WxR
———————–
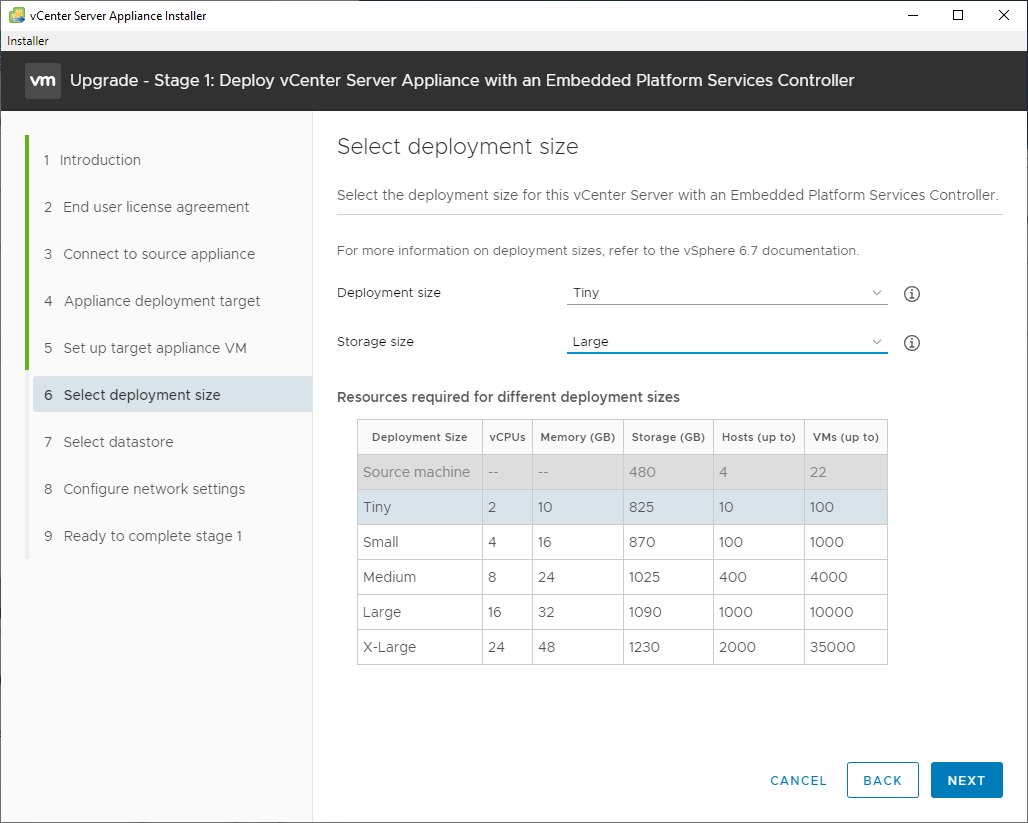
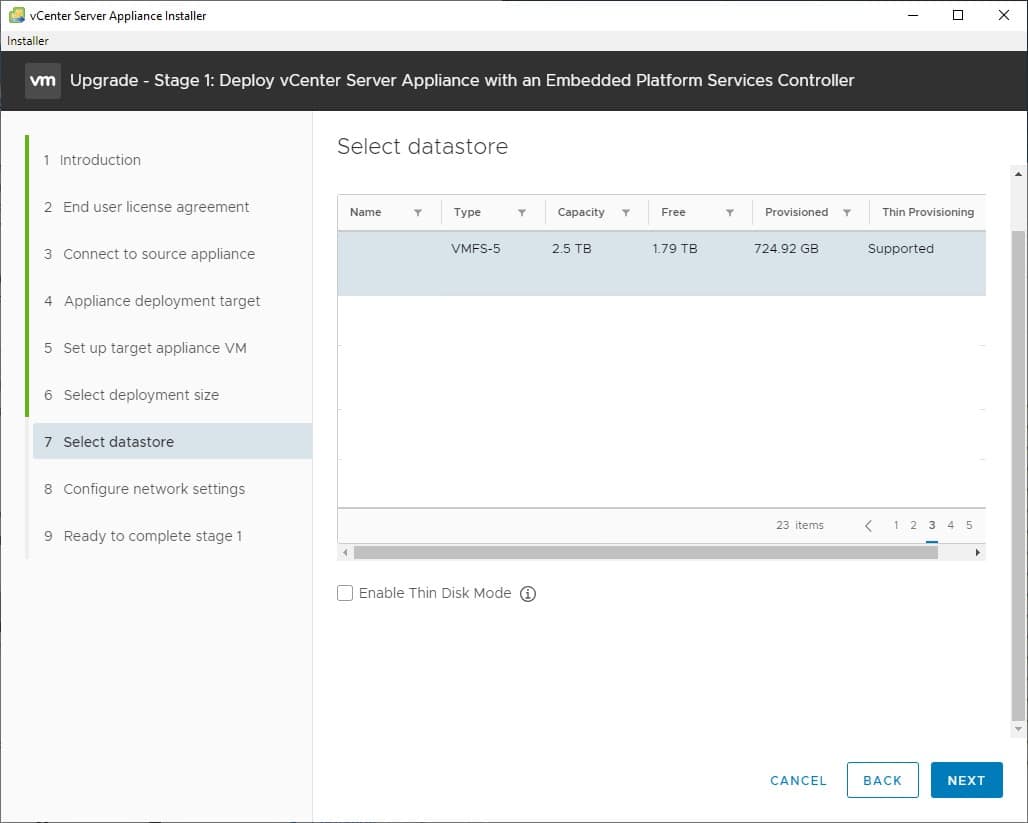
Optional: Check the “Enable Thin Disk Mode” so that your vCenter server uses less disk space (about 80 GB). This is mildly dangerous because the usage can grow over time and cause a datastore to fill up (crashing all VMs on the datastore), but for most small environments it doesn’t grow more than a few GB per year and 850 GB is WAY more than you need.


Errors that can occur during stage 1
If you used the wrong password for the old vCenter, the source host, or the destination host, you may get an error at this point.
If you are on an unstable VPN link, you may get an error. Try running the upgrade from a workstation or server on the LAN.
If you used DNS instead of IP addresses, try changing to IP addresses.
Temporary IP error: The upgrade will attempt to ping the IP address you chose for the temporary vCenter IP address. If it pings, the upgrade will fail. Make sure nothing is using that IP.
For information about cleaning up failed upgrade steps, see troubleshooting at the bottom of the article.
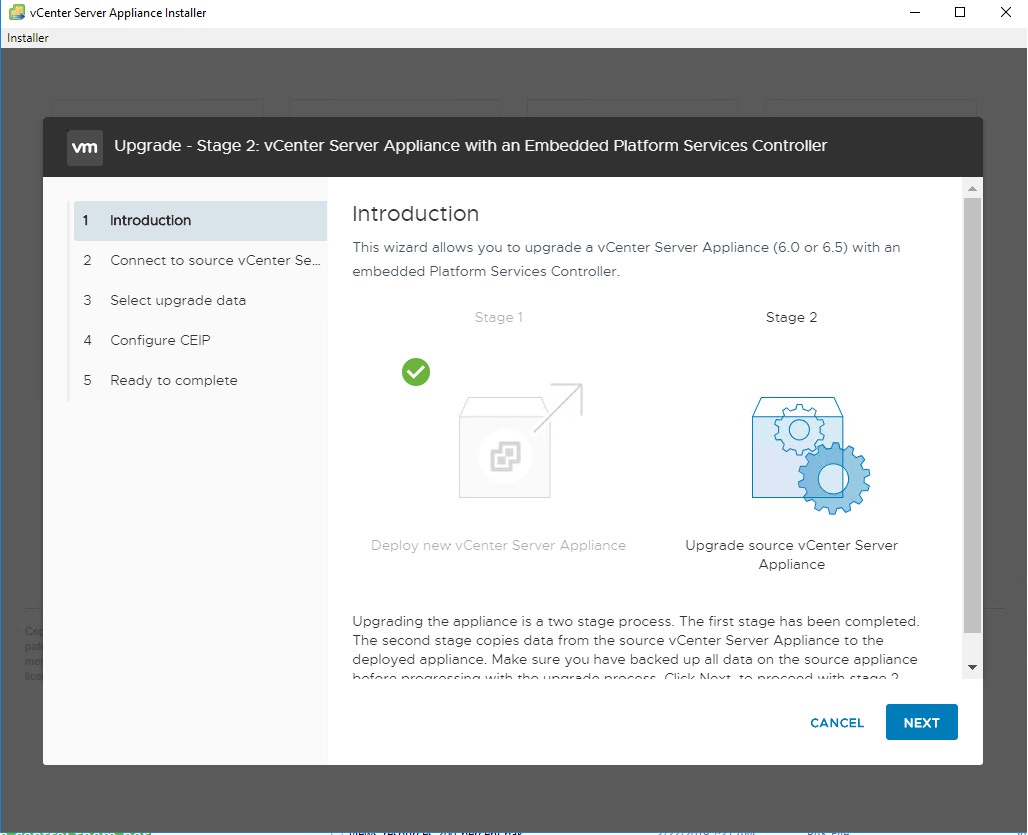
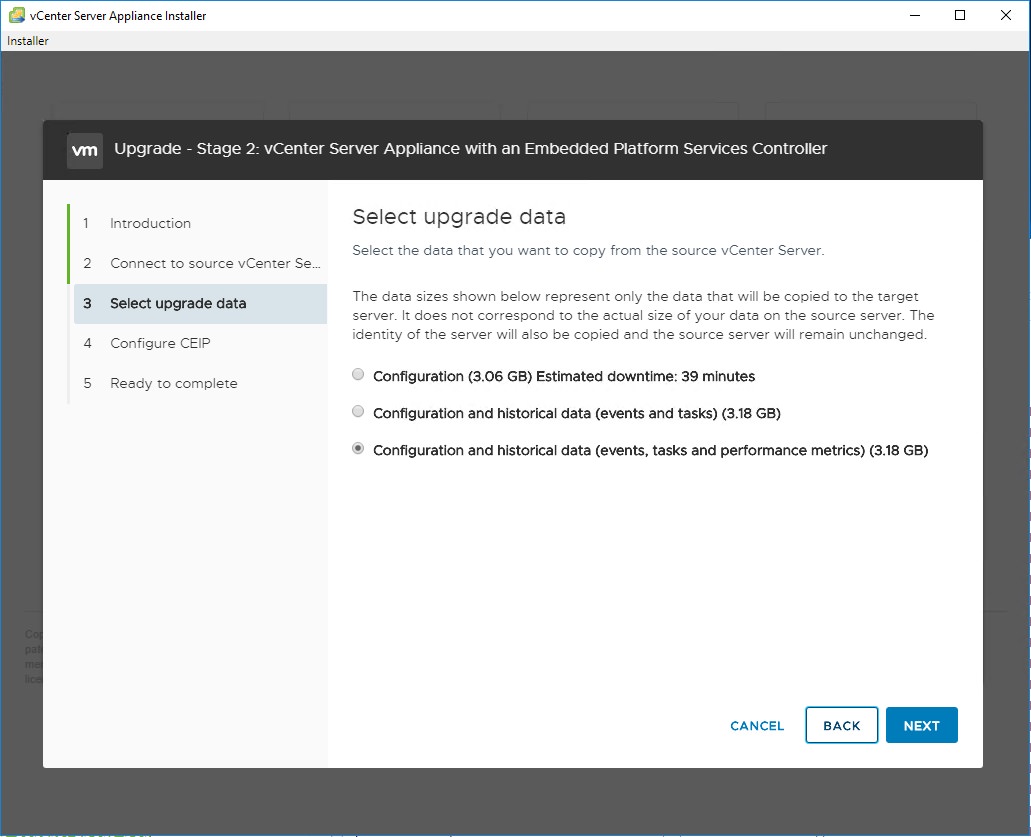
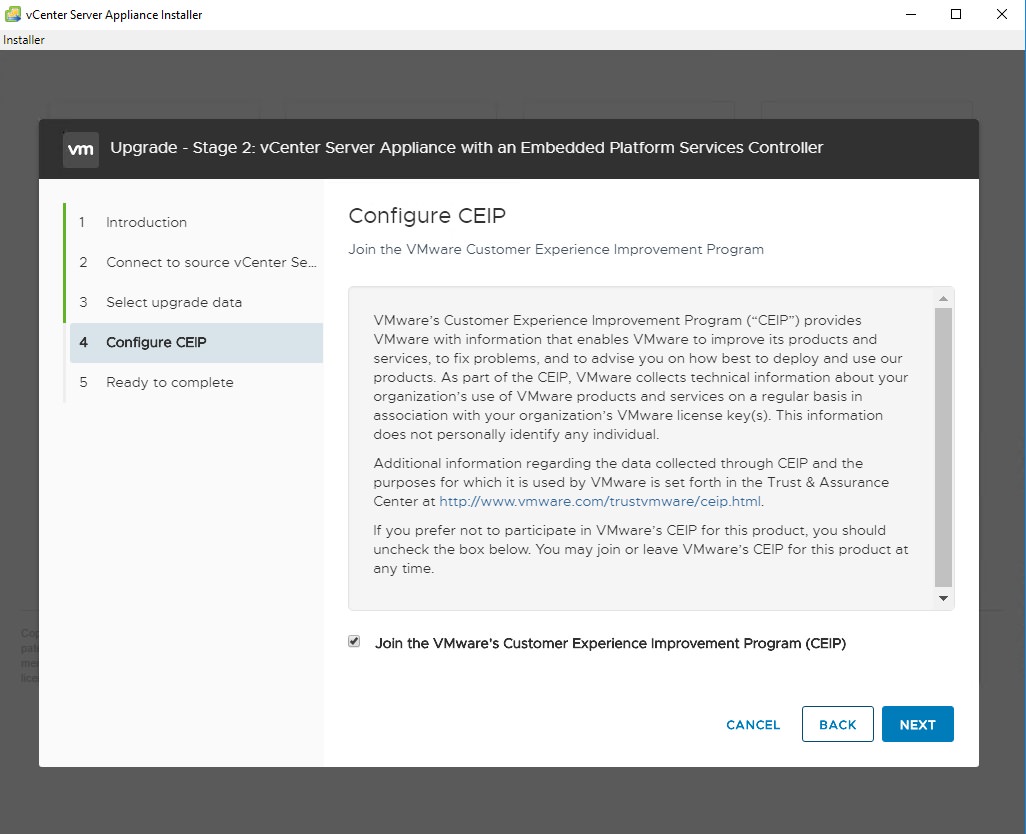
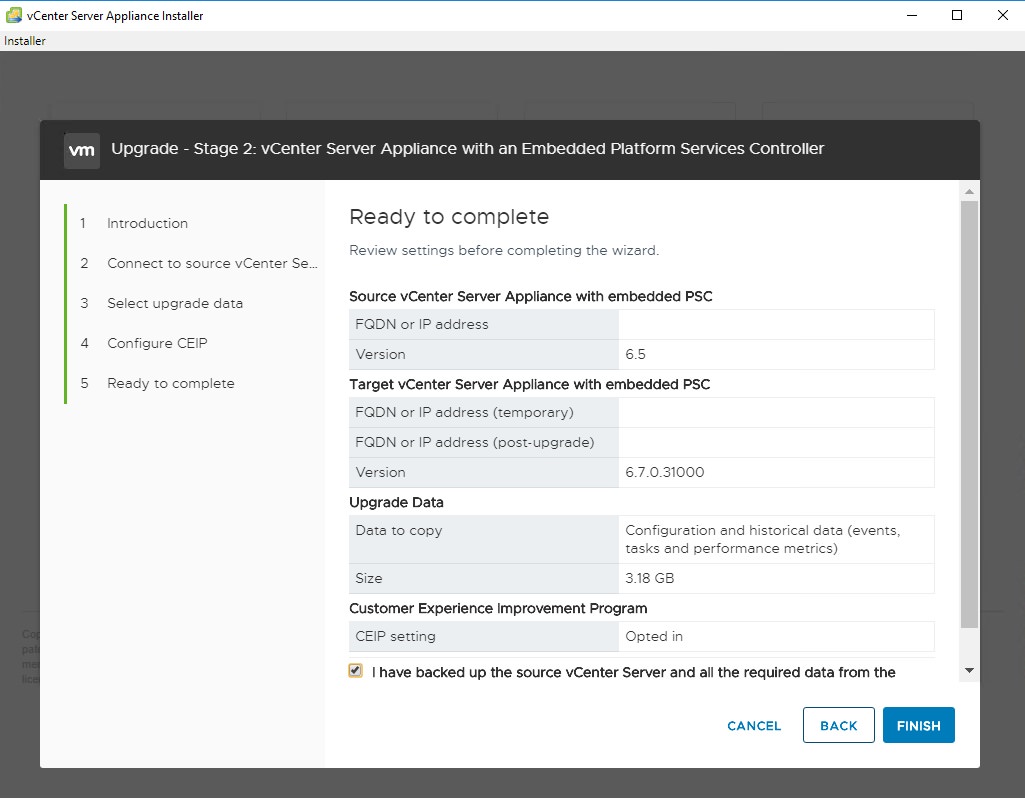
Stage 2 Upgrade VCSA

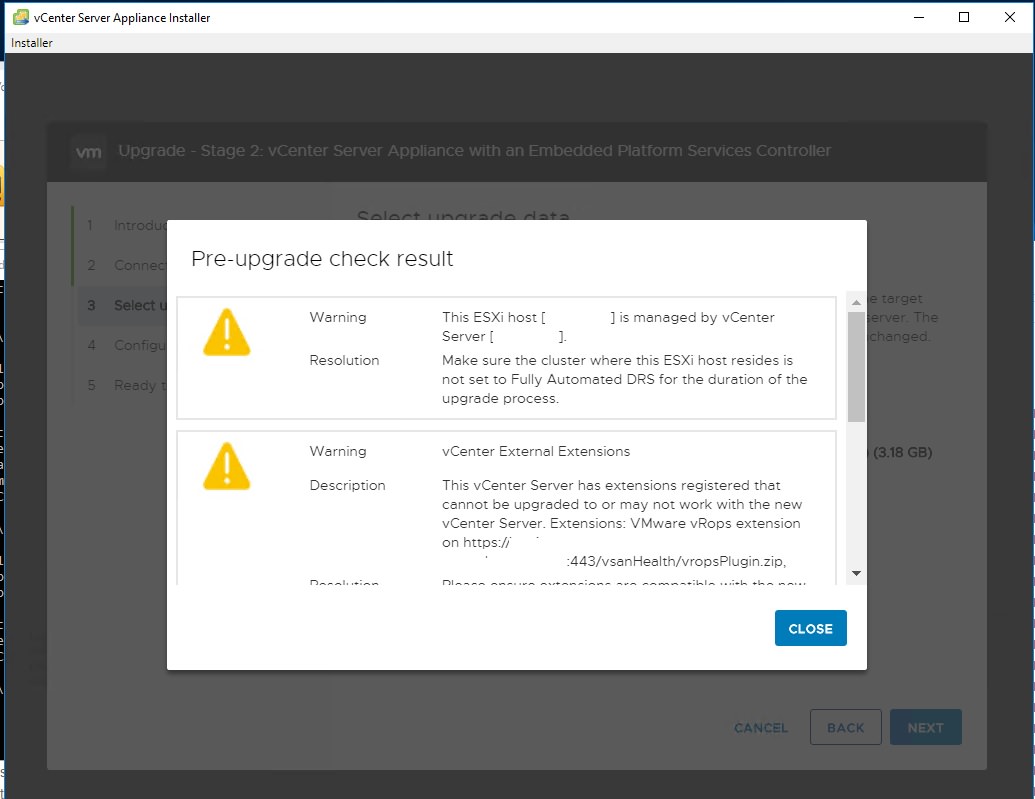
Possible errors during phase 2
NTP error: Make sure your source VCSA has good NTP settings which are the same as the host you are using for source and destination. See this VMware article about configuring NTP. https://kb.vmware.com/s/article/57146 If you don’t have an internal time server, then the recommended option is to point to internet NTP servers: 0.vmware.pool.ntp.org ; 1.vmware.pool.ntp.org ; 2.vmware.pool.ntp.org
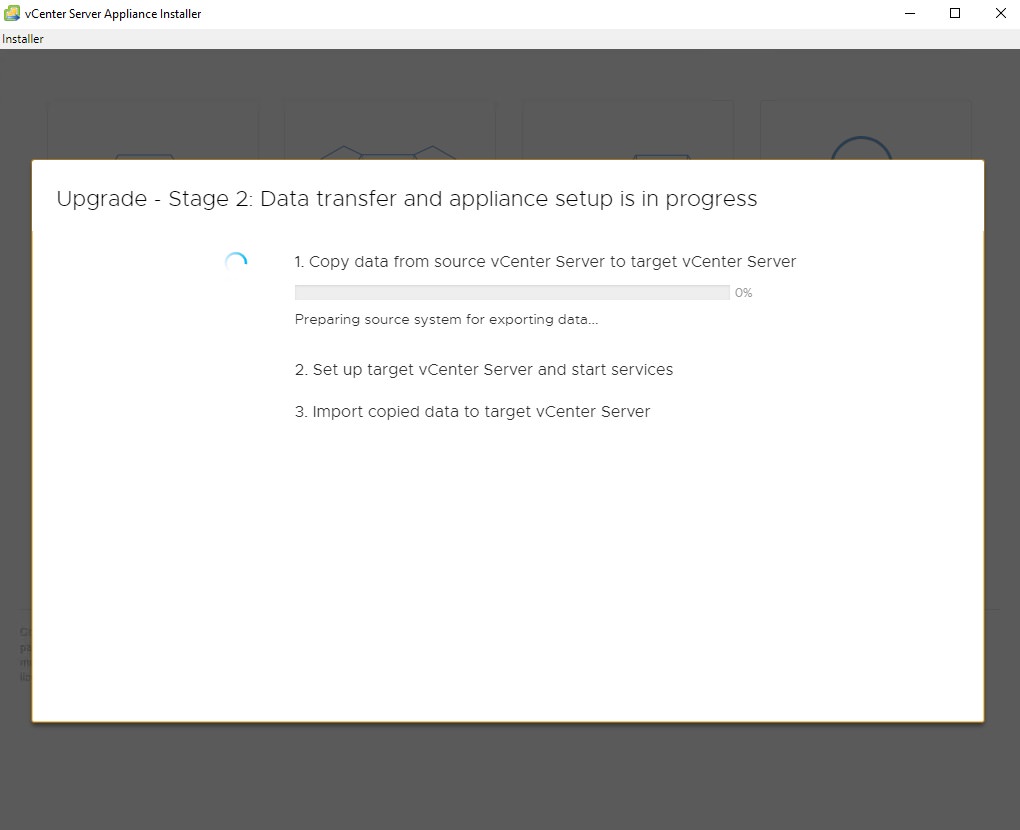
Success!!
At this point, your upgrade should be successful. When the upgrade wizard completes, your old vCenter will be powered off and your new vCenter (running 6.7) will be powered on.
You may want to rename your old vCenter to something like “old_vCenter01”.
Test your ability to log onto the vCenter appliance (https://vcenter01.company.com:5480)
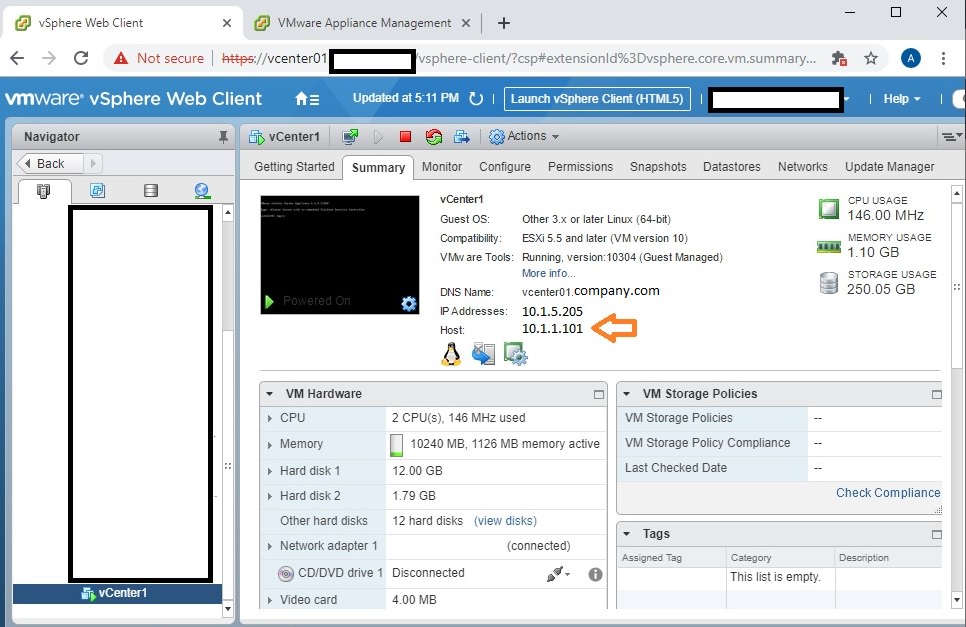
Test your ability to manage your virtual machines (https://vcenter01.company.com/vsphere-client)
Make sure to check your backup jobs. They should switch to using the new vCenter automatically, but double-check.
Once you are comfortable with the new vCenter and you have at least one good backup of it, you can delete your old one.
Remember that if the new vCenter doesn’t work, you can revert your changes simply by powering it off and powering the new vCenter on. You may need to log into individual hosts (https://host_ip_address) to do this if your vCenter isn’t working.
Troubleshooting:
Manually verify every password for each device (your existing vCenter administrator@vsphere.local, your existing vCenter root, the source ESXi host root, the destination ESXi host root). It is common for the vCenter root to be expired. See my other blog for easy steps to fix an expired vCenter root password.
Orphaned vCenter attempts: If your deployment fails, the new vCenter may display as orphaned. There is no impact at this time, because you will continue using your existing vCenter. I’ve heard that using VMware Workstation to connect to your vCenter will allow removal. There is a blog that describes various methods for dealing with orphaned VMs: https://www.altaro.com/vmware/how-to-deal-with-orphaned-virtual-machines/ For a more authoritative source, see VMware KB article for removal steps: https://kb.vmware.com/s/article/1003742#vmdeleted
Upgrade failed with “Failed to send http datainstaller…” The fix seems to be not using DNS for anything. Change all your server names to IP addresses! Reference https://virtuallyinclined.com/2018/07/30/vsphere-6-7-vcsa-upgrade-issues/
Selfish plug time (sorry!)
Thanks for reading this article! I hope it helps you! If you have tips or feedback, please comment or send me an email so that others can benefit.
I am a consultant in the Maryland/DC area in the USA. My specialties are Windows migrations (to 2016 and to Office 365 / Azure), VMware migrations, Netapp and SAN, and high availability / disaster recovery planning. If you would like help with your complex project, or would like a architectural review to improve your availability, please reach out! More information and contact can be found on the About page. – Amira Armond